Introduction
Use Leonardo AI Character Portraits. This guide reframes the end-to-end process of producing character portraits with Leonardo AI using natural language processing concepts and terminology. Leonardo AI Character Portraits. Instead of thinking of prompt → image as a simple UI action, think of it as an input conditioning pipeline: text tokens and reference images are converted to embeddings, fused with model latent states, and decoded by generative denoisers and super-resolution decoders. Leonardo AI Character Portraits. The goal is to present reproducible, production-grade workflows that treat each portrait as a data instance in a controlled sampling pipeline: you will design the conditioning vector (identity anchor), craft prompt templates (input templates), handle distribution shift (drift mitigation), and run post-decode procedures (super-resolution + retouching).
Why Leonardo AI for Character Portraits
Leonardo.ai is valuable for portraits because it offers practical primitives that map well onto ML concepts:
- Character Reference → Persistent reference embeddings you can use as conditioning anchors.
- Style Reference → Style conditioning via style embeddings or example-based prompts.
- Model / Preset Selector → Choice of trained decoder/denoiser checkpoint tuned for photorealism, anime, or painterly output.
- Negative Prompts → Hard or soft constraints that steer decoding away from undesirable token/visual outcomes.
- Seed Control → Deterministic sampling via fixed RNG seeds for reproducible latent sampling.
- Ultra Upscaler → Learned super-resolution decoders that preserve or enhance high-frequency detail.
These map directly to standard ML tasks: controlled conditional generation, domain adaptation to a target aesthetic, constrained decoding (via negative conditioning), and multi-stage pipelines where a coarse generator is followed by refinement models.
Quick Feature Leonardo AI Character Portraits
| Feature | ML/NLP-equivalent | Why it matters |
| Character Reference | Reference embedding set / conditioning dataset | Stabilizes the identity distribution, lowering intra-character variance |
| Style Reference | Reference embedding set/conditioning dataset | Forces decoder to sample from a narrower style manifold |
| Model/Preset Selector | Style embedding/target distribution | Changes decoder priors and loss functions => different visual inductive biases |
| Negative Prompts | Constraint tokens / negative conditioning | Reduces probability mass for unwanted visual tokens (extra limbs, watermarks) |
| Seed Control | RNG seed for sampling | Reproducible sampling of the latent space |
| Ultra Upscaler | Super-resolution decoder | Restores high-frequency features for print-ready outputs |
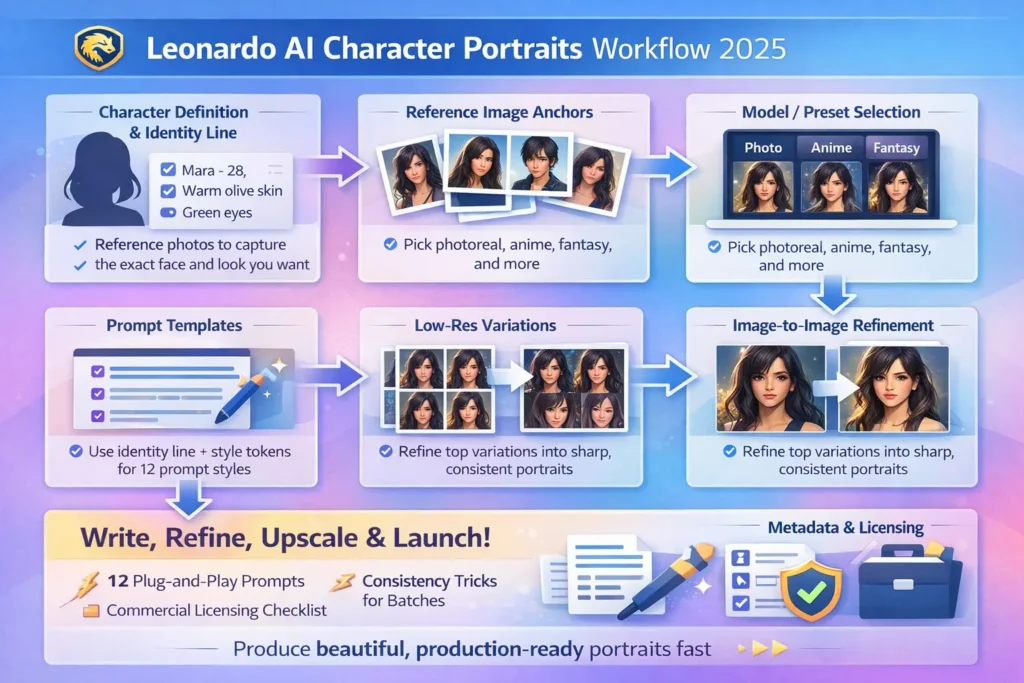
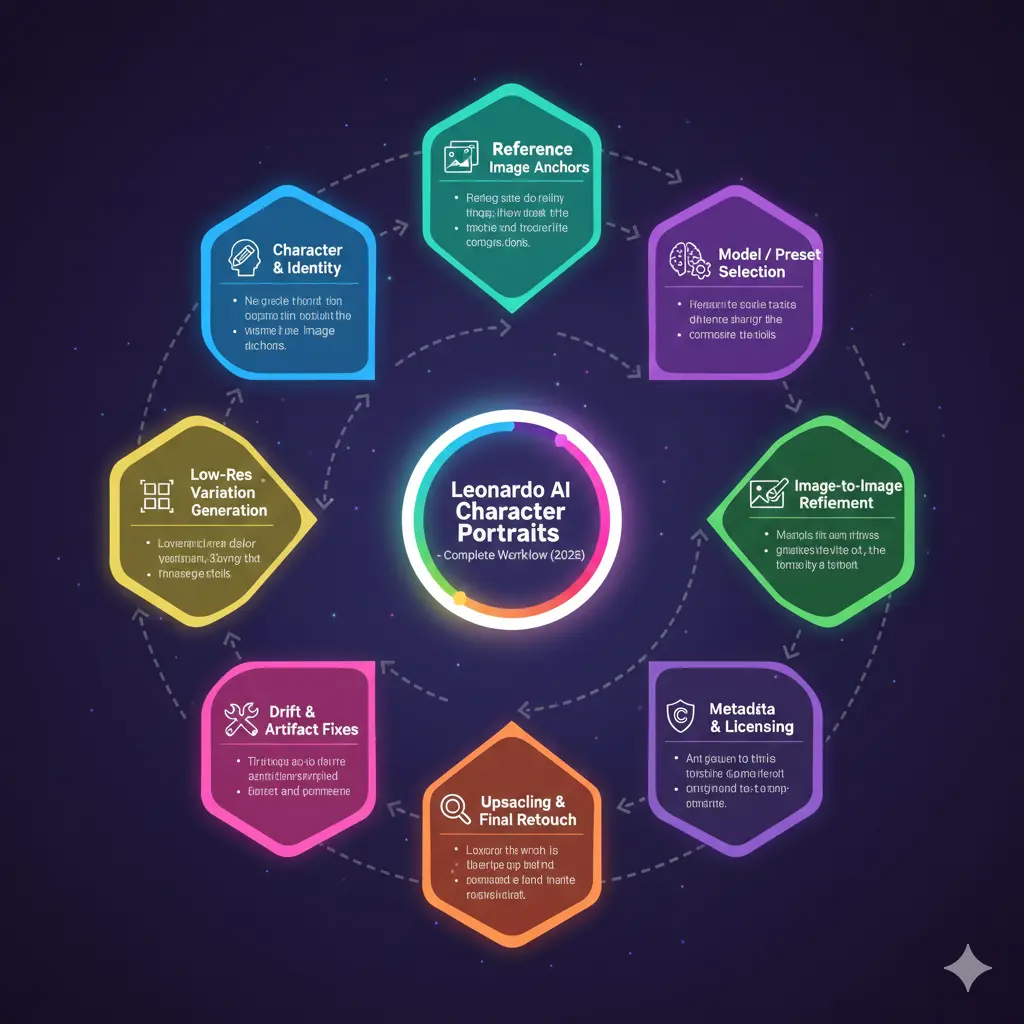
Full Repeatable workflow — From Identity
Below is an NLP-oriented, stepwise recipe you can treat like a repeatable data pipeline.
Define the character, create the identity vector
Treat this as specifying the conditioning vector schema. Produce a compact identity line that will be embedded with text encoders on every run. Suggested fields:
- Name (alias token)
- Age (numerical token)
- Ethnicity/skin tone (descriptive tokens)
- Hair style + color (discrete tokens)
- Unique feature tokens (scar_L_cheek, freckles, glasses)
- Personality/affect tokens (confident, calm)
Gather Reference images, Build your Anchor Set
- Multiple poses/angles (frontal, 3/4, profile)
- Lighting styles you want to emulate
- Clothing/fabric texture for costume cues
Upload these as the “Character Reference” anchor set and consider them your ground-truth identity dataset for the model to latch onto.
Select Model/Preset, Pick a Checkpoint
- Photoreal checkpoints → high fidelity skin microstructure & accurate eye rendering
- Anime checkpoints → simplified geometry, large eyes, cel shading
- Painterly checkpoints → brushstroke priors, painterly noise models
Pick the checkpoint that best matches your target distribution to reduce the burden on later conditioning.
Build a Canonical Template
Design a fixed prompt template that always begins with the identity anchor (your canonical conditioning string). Keep style tokens (photoreal, anime, painterly), camera tokens (85mm f/1.8), and negative constraint tokens consistent.
Canonical pipeline:
- prepend identity anchor
- Append style tokens and camera tokens
- Append hard negatives (e.g., –no extra fingers, watermark, text)
This yields robust conditioning strings that the model’s text encoder converts into embeddings.
Low-Res Exploration / Cheap Sampling
Treat these as low-cost stochastic samples from the prior under your conditioning. Use them to estimate the posterior distribution over desired attributes. Keep hyperparameters low (fewer denoising steps, smaller resolution) to iterate faster and minimize credit cost.
Refine winners with image-to-image
For each selected sample, perform conditional Image-to-image passes with the style reference still active. This is akin to fine-grained conditional denoising that preserves coarse structure while improving details (eyes, hair, scars).
Detect and correct Drift & Artifacts
Drift = decoder sampling that yields outputs outside your target identity manifold. Mitigation techniques:
- Enforce character reference anchors
- Use explicit negative tokens (–no extra fingers, –no mutated features) as constraint vectors
- Apply selective inpainting to recondition local patches (eyes, hairline)
- Re-run conditional passes with adjusted seeds or temperature
Upscale & Finishing
- Super-resolution: Ultra Upscaler or external SR models
- Pixel-level retouch: Frequency separation, dodge & burn, minor liquify corrections
- Color grade: Maintain consistent color transforms across all images in a set (use LUTs if you want reproducible transforms)
Save provenance & Metadata
Save the canonical prompt, identity anchor, seed, model checkpoint, date/time, and reference anchors in a simple JSON metadata file attached to each asset. This enables reproducibility and auditability.
Keeping characters consistent Leonardo AI Character Portraits
- Anchor embeddings: Always use the same set of 3–5 anchor images. These are your canonical exemplars for the identity manifold.
- Fixed identity token: Use the exact identity anchor string every time; small phrasing changes create label noise.
- Master image as base: After you finalize a canonical portrait, use that image as the base input to subsequent image-to-image runs to maintain geometry.
- Reusing seeds: When the platform exposes RNG seeds, reuse them for sampling consistency.
- Structured prompt library: Save identity anchor, style tokens, camera tokens, and negatives as modular building blocks in a library. This ensures reproducible conditioning.
- Post-selection compositing: If a single attribute (eye shape, nostril position) is off, composite patches from verified images using masks, then run a small denoising pass to blend.
- QA checklist: Before upscaling, validate:
- Are the eyes consistent with the anchor images?
- Is the scar in the expected location?
- Is the hairline matching the reference?
Upscaling, Editing & Finishing — Production steps
Upscaling pipeline
- Select the best base image (identity confirmed).
- Run Ultra Upscaler or an external SR network.
- Inspect for hallucinated texture or altered features.
- Bring into Photoshop/Affinity for final pixel-level edits.
Key Photoshop Edits
- Frequency separation: preserve pores while smoothing color.
- Clone/Healing: Remove artifacts (e.g., extra hairs).
- Dodge & Burn: Refine local lighting.
- Small Liquify corrections: Minimal shape correction only.
- Save a PSD with layers and a version history.
Export
- PSD (master)
- PNG (high quality)
- JPG (web optimized)
- Save a small JSON with prompt, seed, model, date, and anchor_images for each asset.
Licensing, Ethics, and Commercial Checklist
Before shipping or selling:
- Check TOS & licensing: Terms for Leonardo.ai or any community models change. Confirm the current TOS for commercial usage.
- Avoid real person likenesses: Generating images that resemble a real person without consent can carry legal risk.
- Preserve provenance: Keep prompt logs, seeds, and model names as part of your dataset’s audit trail.
- Attribution: Where necessary, publicly label images as AI-generated to maintain transparency.
- Model provenance: If you used community models, make sure those models’ licenses (and their training data sources) allow commercial use.
Speed, Cost & Export Tactics
- Use low-res exploratory sampling to reduce compute costs.
- Only upscale winners.
- Batch similar prompts to amortize cost across a single session.
- Track cost per image in a simple spreadsheet with columns: prompt, seed, model, render_cost, and final_asset_price.
Monetization & Real-World Use Cases Leonardo AI Character Portraits
- Create game NPC portrait packs with consistent identity sets.
- Offer author/character portraits for book covers.
- Build subscription avatar services with consistent identity variants.
- Sell prompt + asset packs with documented provenance.
- Create stock character packs aimed at niche genres (fantasy rogues, sci-fi captains).
Comparison of Models
- Photoreal checkpoint — Best for skin and eye detail; higher compute.
- Anime checkpoint — Best for stylized simplicity and clean lines; lower noise sensitivity.
- Painterly/preset — For concept art aesthetics; good when you want brushstroke texture.
- Low-res model — Fast prototype; not for final delivery.
- Ultra Upscaler — For large print or poster usage.
Pros & Cons Leonardo AI Character Portraits
Pros
- Fast iteration through conditioning.
- Powerful reference anchoring reduces identity variance.
- Strong community models and super-resolution tools.
Cons
- Drift still occurs; requires human QA.
- Licensing and the legal landscape can be ambiguous.
- Manual retouch is sometimes necessary for production readiness.
FAQs Leonardo AI Character Portraits
Yes — use Character Reference images and a consistent identity line in every prompt. Also, use a master image for image-to-image variations to reduce drift.
Look for photoreal / realism-tuned community models. Test a few and stick with the one that gives the skin, eyes, and lighting you want.
Usually yes for original characters, but check the current TOS before selling. Avoid likenesses of real people.
Use negative prompts (e.g., –no-extra-fingers), selective inpainting, and manual retouching after upscaling.
Not strictly, but Photoshop (or Affinity) gives you better control for production-ready edits.
Conclusion Leonardo AI Character Portraits
Treat portrait Generation as a reproducible ML pipeline: design concise identity anchors, use consistent conditioning templates, validate outputs with QA checks, and maintain provenance. The combination of reference anchoring, seed control, and modular lets you scale portraits in a predictable way suitable for products and commercial deliverables.