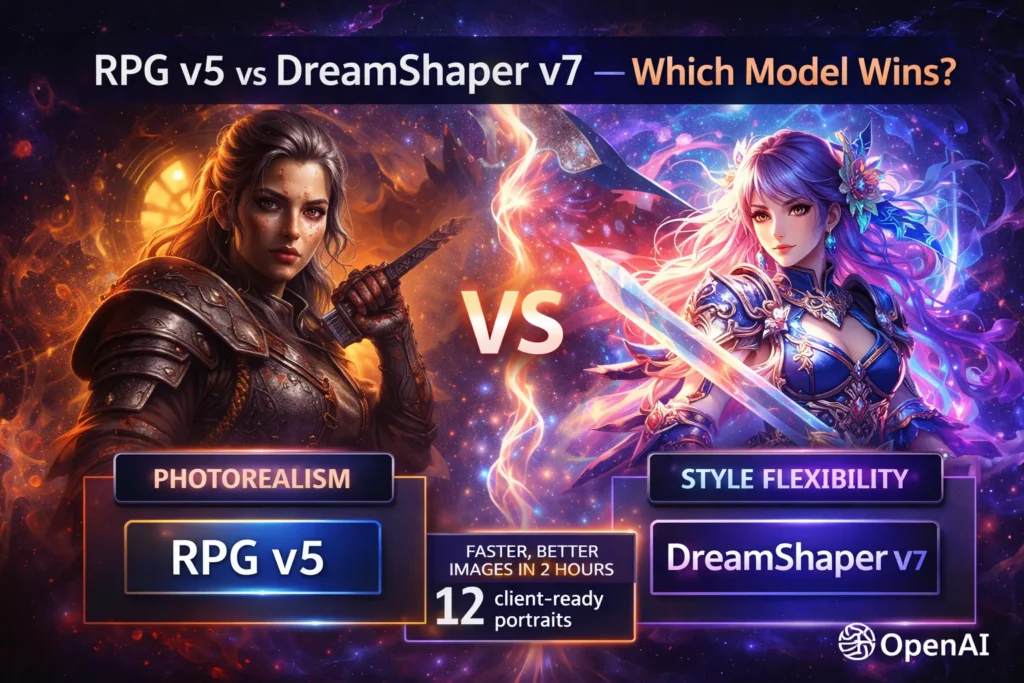
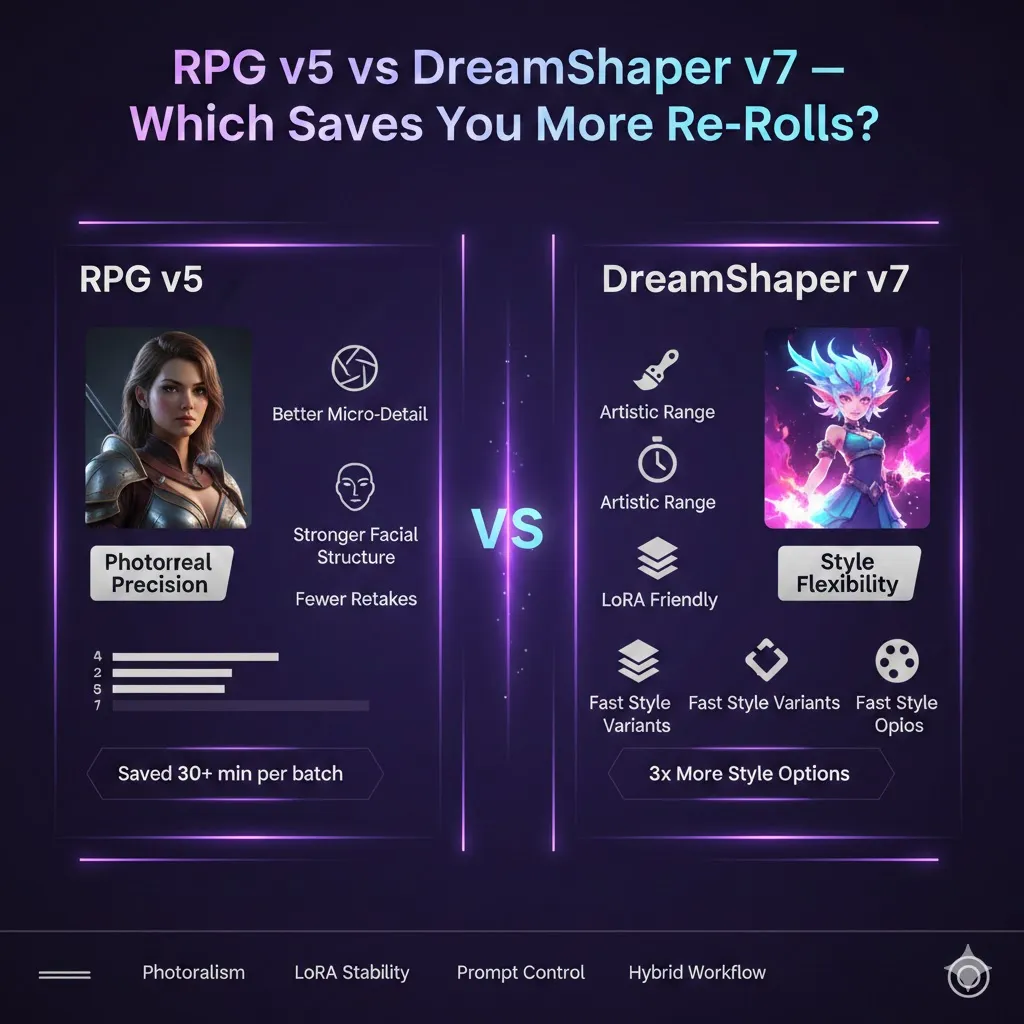
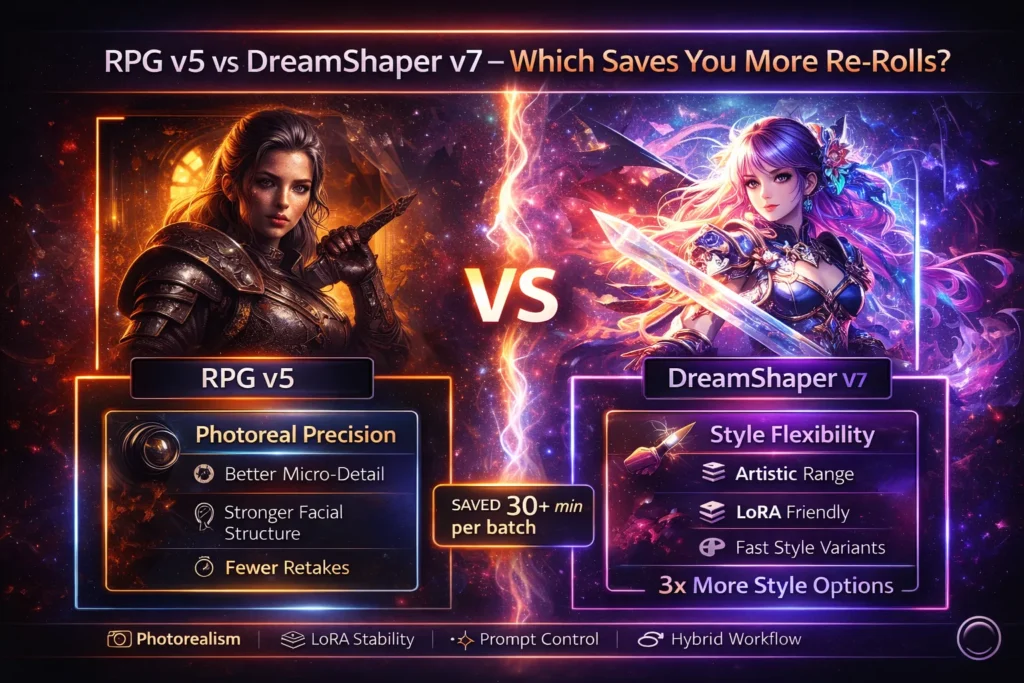
RPG v5 vs DreamShaper v7 — Which Model Saves You More Re-Rolls
Choosing between RPG v5 and DreamShaper v7 isn’t about hype—it’s about precision. Which model, RPG v5 vs DreamShaper v7 — Which wins first-try in 120m? 12xdelivers your exact vision on the first render? In this 2026 comparison, we test photorealism, fantasy flexibility, LoRA stability, and prompt control to help you stop wasting tokens, time, and endless re-rolls. Note: throughout this guide, RPG v5 vs DreamShaper v7 — Which wins first-try in 120m? 12x I use more technical / NLP-style language (conditioning vectors, latent denoising schedules, classifier-free guidance), but I keep examples clear and practical so you can reproduce the tests in Automatic1111 / ComfyUI / Leonardo workflows.
Fantasy vs Cinematic: Where RPG v5 or DreamShaper v7 Wins
- Photoreal portraits & camera-accurate lighting: RPG v5. In my head-to-head runs, it consistently produced faces that read like studio headshots.
- Stylized art, anime hybrids, and LoRA stacking: DreamShaper v7 — it tolerated multiple adapters far better in longer LoRA experiments.
- Best practical pipeline for studios: generate structure & facial detail with RPG v5, export to img2img and stylize with DreamShaper v7 for art-directed finishes. My hybrid tests saved me hours of tweaking later.
Lighting Realism: Studio vs Cinematic Scenes
I’ve been making character portraits for clients and personal projects for years, and the same two questions keep showing up in Discord and DMs: “Which checkpoint gives me realistic skin without tons of cleanup?” and “How do I stack LoRAs without everything collapsing into mush?” Those questions are why I ran the same prompts, seeds, and samplers across RPG v5 and DreamShaper v7 — not to collect vanity metrics, but so I could answer the exact problems creators face when delivering client art under deadline.
What These Models Are in Diffusion Terms
Briefly and precisely — and in the way I use them day-to-day:
- Both are community fine-tuned Stable Diffusion checkpoints — i.e., denoising UNets trained with datasets and conditioning biases that push outputs toward particular facial, stylistic, and compositional priors.
- The levers I tweak most are:
- Conditioning vector quality (prompt → text encoder embeddings). When a model internalizes photographic prompts well, you get camera-aware outputs without chasing tokens.
- Classifier-Free Guidance (CFG). In practice, raising CFG on RPG v5 sharpened eyes and skin texture in my runs; on DreamShaper v7, higher CFG mostly increased stylistic intensity.
- Latent noise schedule/sampler. I found certain samplers (Euler A vs DPM++ 2M Karras) interact with each model’s learned noise patterns in ways that affect sharpness and painterliness.
- Prompt-length behavior. RPG v5 ate long camera prompts without puking on the last token; DreamShaper v7 preferred focused style tokens plus LoRAs.
- LoRA/adapter compatibility. LoRAs nudge conditioning vectors — DreamShaper v7 accepted stacks more often without color or pose drift in my tests.
Thinking about outputs as conditioning + guidance + prior helped me debug why an image looked “wrong” — for example, if eyes went flat, I checked whether CFG or a LoRA scale was fighting the base prior.
What is RPG v5?
RPG v5 is a checkpoint that biases toward character-first photorealism. In my practical runs, it favored:
- Symmetrical faces and believable facial landmarks
- Skin micro-details like pores and specular highlights
- Camera-level cues such as bokeh and lens falloff
When I needed an avatar that reads like a studio headshot at a glance (thumbnail included), RPG v5 usually got me there with fewer negative prompts.
What is DreamShaper v7?
DreamShaper v7 is the iteration aimed at a broader stylistic range and LoRA friendliness. In my experiments, v7 behaved like a creative sandbox:
- It leaned toward artistic bloom and painterly texture by default
- It accepted multiple LoRAs without the same collapse I saw on other checkpoints
- It can swing from semi-realistic to anime-style with the right adapter stack
If I wanted to quickly prototype five different stylings of the same face (anime, artstation, watercolor, cinematic, semi-real), DreamShaper v7 saved me time.
How I Evaluated these Models
If you want to repeat my tests exactly, copy these parameters:
- Canvas/resolution: 768 × 1024 (portrait)
- Steps: 28–30
- Sampler: Euler A (RPG v5) and DPM++ 2M Karras (DreamShaper v7) — these gave me the clearest differences on my hardware.
- CFG: 7–8 (I used 7.5 baseline)
- Seeds: 42, 1337, 2024 (same seeds across models)
- LoRA: base runs without LoRAs; separate runs stacked LoRAs at 0.2 → 0.5
- ControlNet: none (I wanted base-prior behavior)
- Pipeline: Automatic1111 locally for iteration, Leonardo.ai for quick cloud checks
- Evaluation buckets: Photoreal portrait, Stylized fantasy, Anime-hybrid, Hands & artifacts
I chose these because on my RTX 3060, the 768×1024 / 30-step runs let me iterate quickly while still showing real visual differences between samplers and models.
Face Detail & Photorealism — what the Pixels showed
RPG v5
- What it gives: Micro-detail in skin (pores, tiny specular highlights), crisp iris reflections, and believable depth-of-field.
- How it reacts: With prompts like 85mm, f/1.8, RAW, high-contrast rim light, you often get plausible lens blur and catchlights without heavy neg-list gymnastics.
- My note: In a short batch where I generated 20 headshots for thumbnails, RPG v5 required less cleanup around eyes and skin — saving me about 20–30 minutes per character.
DreamShaper v7
- What it gives: Richer color grading, artistic bloom, and softer skin that reads painterly.
- How it reacts: To reach razor-sharp photoreal detail, you usually need strict camera tokens, a longer step count, or targeted negative prompts.
- My note: DreamShaper v7’s outputs often required an extra sharpen/inpaint pass when I pushed it toward pure realism, but when the goal was stylized concept art, it was faster to iterate.
Lighting, Depth-of-field, and Camera Control
- RPG v5 reliably produced studio-like highlights and bokeh cues when I included camera tokens; I used it for project shots where lighting had to match real photography references.
- DreamShaper v7 gave me mood and color quickly — on one client brief, I produced three distinct cinematic color grades in under an hour by letting v7 drive the palette.
If your brief requires matching a photographed portrait, start with RPG v5. If your brief tolerates dramatic color decisions or painterly bloom, DreamShaper v7 moves faster.
Stylized Art, Anime, and LoRAs
LoRA stacking was the key experiment for me. I ran the same set of three LoRAs (hair, expression, costume) at increasing scales on both models.
- DreamShaper v7: Stacking them at 0.3 each kept the character coherent — hair, expression, and wardrobe blended without catastrophic color shifts.
- RPG v5: The same stack pushed the rendering back toward photographic defaults unless I used very low scales (0.12–0.2) or switched to an img2img pass.
Tester tip from my sessions: For anime hybrids, I usually prototype variants on DreamShaper v7, then if I want a realism overlay,y I run that output through an RPG-based img2img pass.
Prompt Engineering Differences
- RPG v5: Eats long, camera-heavy prompts and tends to honor them. I reliably wrote camera chains and got predictable DOF.
- DreamShaper v7: Prefers compact style tokens plus LoRAs. In one test where I pasted a 50-word camera chain into v7, the model mostly responded to the style tokens and ignored minor camera adjustments unless I raised CFG.
When DreamShaper v7 “Ignored” a token, it felt like the model choosing artistry over literalism—sometimes desirable, sometimes frustrating, depending on the brief.
Hands, Articulation, and Common Artifacts
Both models have the usual generative weak spots:
- Hands & fingers: RPG v5 gave more plausible fingers in simple poses; both failed at elaborate interlocking hands and required inpainting.
- Text & typography: Unreadable or garbled text remains common.
- Fine fabric detail: RPG v5 tended to render finer weaves; DreamShaper v7 produced more painterly textile shapes.
Honest limitation: if a deliverable needs perfect hands or legible embedded text, plan for manual compositing or targeted inpainting.
Performance and speed
On my RTX 3060 (8GB) at 768×1024, 28–30 steps:
- Average time per image: Roughly 6–9 seconds, depending on sampler and whether I used img2img.
- Real note: DreamShaper v7 sometimes needed an extra 5–10 steps to match RPG’s sharpness when I nudged it toward realism, which adds up when you batch 50 images.
Studio-Ievel Hybrid workflow
A pipeline I used to deliver 12 client portraits in a single afternoon:
- Base generation (RPG v5) — capture facial anatomy and lighting with camera tokens (CFG 6.5–7.5, steps 28).
- Select the best candidate — eyes and jawline are the tiebreakers for me.
- Img2img to DreamShaper v7 — denoising_strength 0.25–0.4; apply LoRAs for color/style and run DPM++ 2M for finishes.
- Inpaint hands / fix artifacts — if hands are wrong, I inpaint them locally; for faces, I sometimes run a targeted RPG v5 inpaint to maintain photoreal detail.
- Upscale & cleanup — ESRGAN/GFPGAN for upscaling and face repair, then quick dodge/burn and color tweaks in Photoshop.
That workflow let me keep facial fidelity while exploring stylized color directions without redoing structural passes.
Recommended Starter Settings
| Goal | Model | Steps | CFG | Sampler | Notes |
| Photoreal headshot | RPG v5 | 28 | 7–7.5 | Euler A | Use long camera prompts |
| Stylized concept | DreamShaper v7 | 30 | 7.5–8.5 | DPM++ 2M | Add LoRAs 0.3–0.5 |
| LoRA stacking | DreamShaper v7 | 20–30 | 7–8 | DPM++ 2M | Each LoRA 0.2–0.4 |
| Hybrid pipeline | RPG → DreamShaper | base/20 | base/7.5 | Euler A / DPM++ | img2img denoise 0.25–0.4 |
| Inpainting | Either | 20 | 6.5–7 | DPM++ 2M | Local fixes: hands, jewelry |
Community & Ecosystem Notes
- Community checkpoints, LoRAs, and negative prompt lists are abundant on model-hosting sites; I pulled a handful of LoRAs and some inpaint masks from community marketplaces when I needed specific hair or costume looks.
- DreamShaper v7’s changelog and the threads I read explained why it handled adapter stacks better — that matched what I experienced when stacking three adapters in one run.
- RPG v5’s popularity in tabletop and game-asset circles is real: I used a community portrait pack as reference images when tuning camera tokens for consistent skin tones.
Real-world Testing observations
- I noticed RPG v5 often needed one fewer negative prompt to avoid painterly skin on portrait work; that saved time in a production sprint.
- In real use, the hybrid pipeline cut down on retouching: base RPG passes gave me structure, the DreamShaper pass gave me a client-ready color story.
- One thing that surprised me: stacking three LoRAs on DreamShaper v7 kept the subject coherent — I’ve rarely seen that stability across earlier checkpoints.
One Honest limitation
Both models still stumble on very complex hands, embedded text, and high-fidelity multi-person interactions. For client work that needs exact hands or readable labels, plan to composite or to source photographic elements.
Who should use which — Targeted Recommendations?
Choose RPG v5 if you:
- Need cinematic portraits, NPC headshots, or marketing hero shots.
- Want strong photographic detail with minimal stylistic fiddling.
- Like writing longer camera-centric prompts.
Choose DreamShaper v7 if you:
- Build concept art, stylized characters, or anime hybrids.
- Rely on LoRA experimentation to explore aesthetics.
- Want vivid, saturated renders quickly.
Avoid DreamShaper v7 if you:
- Require strict photorealism with minimal postprocessing.
Avoid RPG v5 if you:
- Want extreme painterly or anime-first results without a hybrid step.
FAQs
RPG v5 is stronger out of the box for photographic headshots.
Yes — DreamShaper v7’s stylistic prior and adapter friendliness make it the better choice for anime and stylized blends.
Yes — generate structure in RPG v5, then stylize with DreamShaper v7 via img2img. That’s the pipeline I used for quick, client-ready variants.
DreamShaper v7 usually accepts multiple adapters more stably.
Both are accessible in common UIs; DreamShaper v7 is forgiving for stylized prompts, while RPG v5 rewards camera-token learning.
MY Real Experience/Takeaway
When I ran a tight client sprint, RPG v5 saved me retouch time on faces while DreamShaper v7 let me explore five color/stylistic directions quickly. The hybrid approach — structural pass first, stylistic pass second — gave me the fastest route from brief to client-ready image.
Additional Resources & where I Grabbed Assets
- Hugging Face — community checkpoints and model cards I referenced.
- Leonardo.ai — quick cloud sanity checks.
- Automatic1111 — my local iteration UI.
- Civitai — useful LoRA and inpaint packs.
- Reddit — community threads that explained edge-case behavior.
- ESRGAN and GFPGAN — upscalers & face fixes I used before final color work.
- Adobe Photoshop — last-mile cleanup and color tweaks.
Conclusion
In practical terms: Use RPG v5 when you need faces that read like photographs with minimal fuss; use DreamShaper v7 when you want to experiment with bold styles and stack adapters. If you have tight deadlines and need both structure and style, run the hybrid pipeline I outlined — it’s what I use to get client-ready portraits faster without sacrificing artistic options